Configuration#
Guidelines for defining configuration#
When using an adapter, unique information about each physical instance is needed. Each piece may have different identifiers, data paths, and settings. The configuration file provides this individual context by bridging the general adapter code with the specific details of each setup. This configuration allows the adapter system to customise its behaviour for each instance, enabling a single adapter class to be reused across multiple pieces of equipment, each with its configuration.
What is config.yaml?#
The configuration file is where you define how your equipment adapters will operate. You can edit the configuration file to the specifications of your equipment, such as connection parameters, data handling, and output settings. The configuration is written in YAML format, which is easy to read and write.
An example:
EQUIPMENT_INSTANCES:
  - equipment:
      adapter: Example
      data:
        instance_id: demo_device
        organisation: university_lab
        department: research
      requirements:
        interval: 1

OUTPUTS:
  - plugin: MQTT
    broker: test.mosquitto.org
    port: 1883
Each configuration file consists of two main sections: EQUIPMENT_INSTANCES and OUTPUTS.
EQUIPMENT_INSTANCES: This section defines the equipment adapters you want to use, along with their specific settings and requirements.
OUTPUTS: This section defines how the data from the equipment adapters will be outputted or stored, such as through MQTT, SQL, KeyDB, or to a local file.
Equipment Instances#
What is EQUIPMENT_INSTANCES?#
The EQUIPMENT_INSTANCES section of the config file defines defines the equipment adapters you want to use (adapter), any metadata
about the device (data) and adapter specific requirements (requirements). Depending on the adapter chosen, the requirements will
differ.
Options for Equipment Instances#
Each entry under EQUIPMENT_INSTANCES represents an individual EquipmentAdapter instance for a piece of equipment (A single process can support running multiple adapters). This section provides information necessary to distinguish each instance and configure it according to specific needs:
equipment:
adapter: This field specifies the adapter type, which is the equipment ID within the
device.jsonfile of the given adapter (e.g.,ConcreteAdapter1), which is the name of the adapter class. It is needed for adapter discovery. Below, we discuss each aspect of a config file. Due to the config file’s specific nature, some examples for specific adapters are given, denoted with the (EquipmentAdapter specific) tag.data: This field contains identifiers/metadata. It is required for discovery and ensuring uniqueness within the larger network of equipment. If the instance_id is not unique, the program will fail at initialisation.
instance_id: A unique identifier for this equipment instance.
organisation: The organisation where the equipment is based.
department: The department where the equipment is based.
requirements: Defines adapter-specific required operational parameters:
write_file (EquipmentAdapter specific): Specifies the path where data from the equipment will be written.
broker/host (EquipmentAdapter specific): Connection information, such as the host address.
port (EquipmentAdapter specific): The connection port for the host.
token (EquipmentAdapter specific): Code for authentication.
simulation (optional): This nested data is only required for adapters running in simulated mode, which varies by adapter. Not all adapters support simulations.
filename: (EquipmentAdapter specific) A path to a file with simulated data (Note this may change for different adapters).
interval: (EquipmentAdapter specific) The interval in seconds when the simulation will feed the adapter another chunk of data (measurement).
maximum_message_size (optional): If present, it sets the maximum number of measurements that will be transmitted within a single message. The higher this option, the fewer messages will be sent, but each message will be a larger payload.
experiment_timeout (optional): If present, when an experiment is running, and a new measurement hasn’t been taken within this timeout period, the experiment will be stopped. This is used for cases where the lack of measurement data will be due to an error in a given time.
external_input (optional): If present, it will use the external input modules that take data—typically commands—from sources other than the equipment the adapter is designed for. This external source could be another tool for analysing the outgoing data. The external input serves as the entry point to “close the loop”—that is, to feed control signals back into the system based on the analysis. Note that this system is in early development and isn’t fully developed. See (here) for progress. The ExternalEventWatcher names are added as the plugin name and requirements provided below. This process is the same as defining an
OutputModulediscussed below.
Output#
Options for Output#
Each entry under OUTPUTS represents an OutputModule for transmitting or storing data. Output modules can be chained together through a fallback mechanism, where the next module in the sequence is used if the primary output fails. Like the requirement section within the EquipmentAdapters, most of the fields within an OUTPUTS element are specific to the type of module that is defined to be used.
plugin: This specifies the type of output module, e.g., MQTT, KEYDB, SQL or FILE. The name needs to be the same as the
OutputModuleclass.broker/host (OutputModule specific): Connection information, such as the broker or host address for
MQTTorKEYDBoutputs.port (OutputModule specific): The connection port for the output module.
username/password (OutputModule specific): Credentials for authentication (for secure output modules like
MQTT).fallback: Defines the next output in the chain if the primary output fails. For example, if both previous outputs fail, an
MQTToutput can fall back toKEYDB, which can then fall back to aFILEorSQLoutput.filename (OutputModule specific): Specifies the path to a file where data will be stored locally if other outputs are unavailable (Used in
FILEorSQLoutput modules).
This structure enables flexible data transmission. Primary outputs can be backed up by secondary methods, ensuring data persistence even if one output method encounters issues. This data must be specified within a file known as a “yaml” file. This is essentially a dictionary of keys and values, as seen below.
Types of output#
The OUTPUT section of the config file defines how the data from the equipment adapters will be outputted or stored. Users can
currently choose MQTT, KEYDB, SQL, and FILE as possible outputs.
EQUIPMENT_INSTANCES:
  - equipment:
      adapter: Example
      data:
        instance_id: demo_device
        organisation: university_lab
        department: research
      requirements:
        interval: 1

OUTPUTS:
# MQTT output requires 'broker' and 'port'
# optionally 'username', 'password', 'clientid', 'protocol', 'transport', and 'tls'
# and optionally an alternative 'fallback' output
  - plugin: MQTT
    broker: test.mosquitto.org
    port: 1883
#   username: None #OPTIONAL expects a str
#   password: None #OPTIONAL expects a str
#   clientid: None #OPTIONAL expects a str
#   protocol: v3   #OPTIONAL expects "v3" "v5"
#   transport: tcp #OPTIONAL expects "tcp", "websockets", "unix"
#   tls: False     #OPTIONAL expects True, False
#   fallback: SQL  #OPTIONAL expects "SQL", "KEYDB", "FILE"

# SQL output requires 'filename' of database
# and optionally an alternative 'fallback' output
#  - plugin: SQL
#    filename: messages.db
#    fallback: KEYDB #OPTIONAL expects "MQTT", "KEYDB", "FILE"

# KEYDB output requires 'host', 'port', 'db'
# and optionally an alternative 'fallback' output
#  - plugin: KEYDB
#    host: localhost
#    port: 6379
#    db: 0
#    fallback: FILE #OPTIONAL expects "MQTT", "SQL", "FILE"

# FILE output requires 'filename'
# and optionally an alternative 'fallback' output
#  - plugin: FILE
#    filename: local.json
#    fallback: FILE #OPTIONAL expects "MQTT", "SQL", "KEYDB"
MQTT#
The MQTT output adapter uses MQTT protocol to transmit data to an MQTT broker. This output adapter requires a user to define the
broker and port. Users can optionally add additional variables including: username, password, clientid, protocol,
transport, and tls as well as an alternative fallback output.
OUTPUTS:

  - plugin: MQTT
    broker: test.mosquitto.org
    port: 1883
    username: None #OPTIONAL expects a str
    password: None #OPTIONAL expects a str
    clientid: None #OPTIONAL expects a str
    protocol: v3   #OPTIONAL expects "v3" "v5"
    transport: tcp #OPTIONAL expects "tcp", "websockets", "unix"
    tls: False     #OPTIONAL expects True, False
    fallback: SQL  #OPTIONAL expects "SQL", "KEYDB", "FILE"
KEYDB#
The KEYDB output adapter outputs data into a KEYDB database. This output adapter requires a user to define the host, port, and db.
Users can add an alternative fallback output.
OUTPUTS:
   - plugin: KEYDB
     host: localhost
     port: 6379
     db: 0
     fallback: FILE #OPTIONAL expects "MQTT", "SQL", "FILE"
SQL#
The SQL output adapter outputs data in an SQL database. This output adapter requires a user to define the filename, users can opt
to add an alternative fallback output.
OUTPUTS:

   - plugin: SQL
     filename: messages.db
     fallback: KEYDB #OPTIONAL expects "MQTT", "KEYDB", "FILE"
FILE#
The FILE output adapter outputs data in a json file. This output adapter requires a user to define the filename, users can opt to
add an alternative fallback output.
OUTPUTS:

   - plugin: FILE
     filename: local.json
     fallback: FILE #OPTIONAL expects "MQTT", "SQL", "KEYDB"
LEAF GUI#
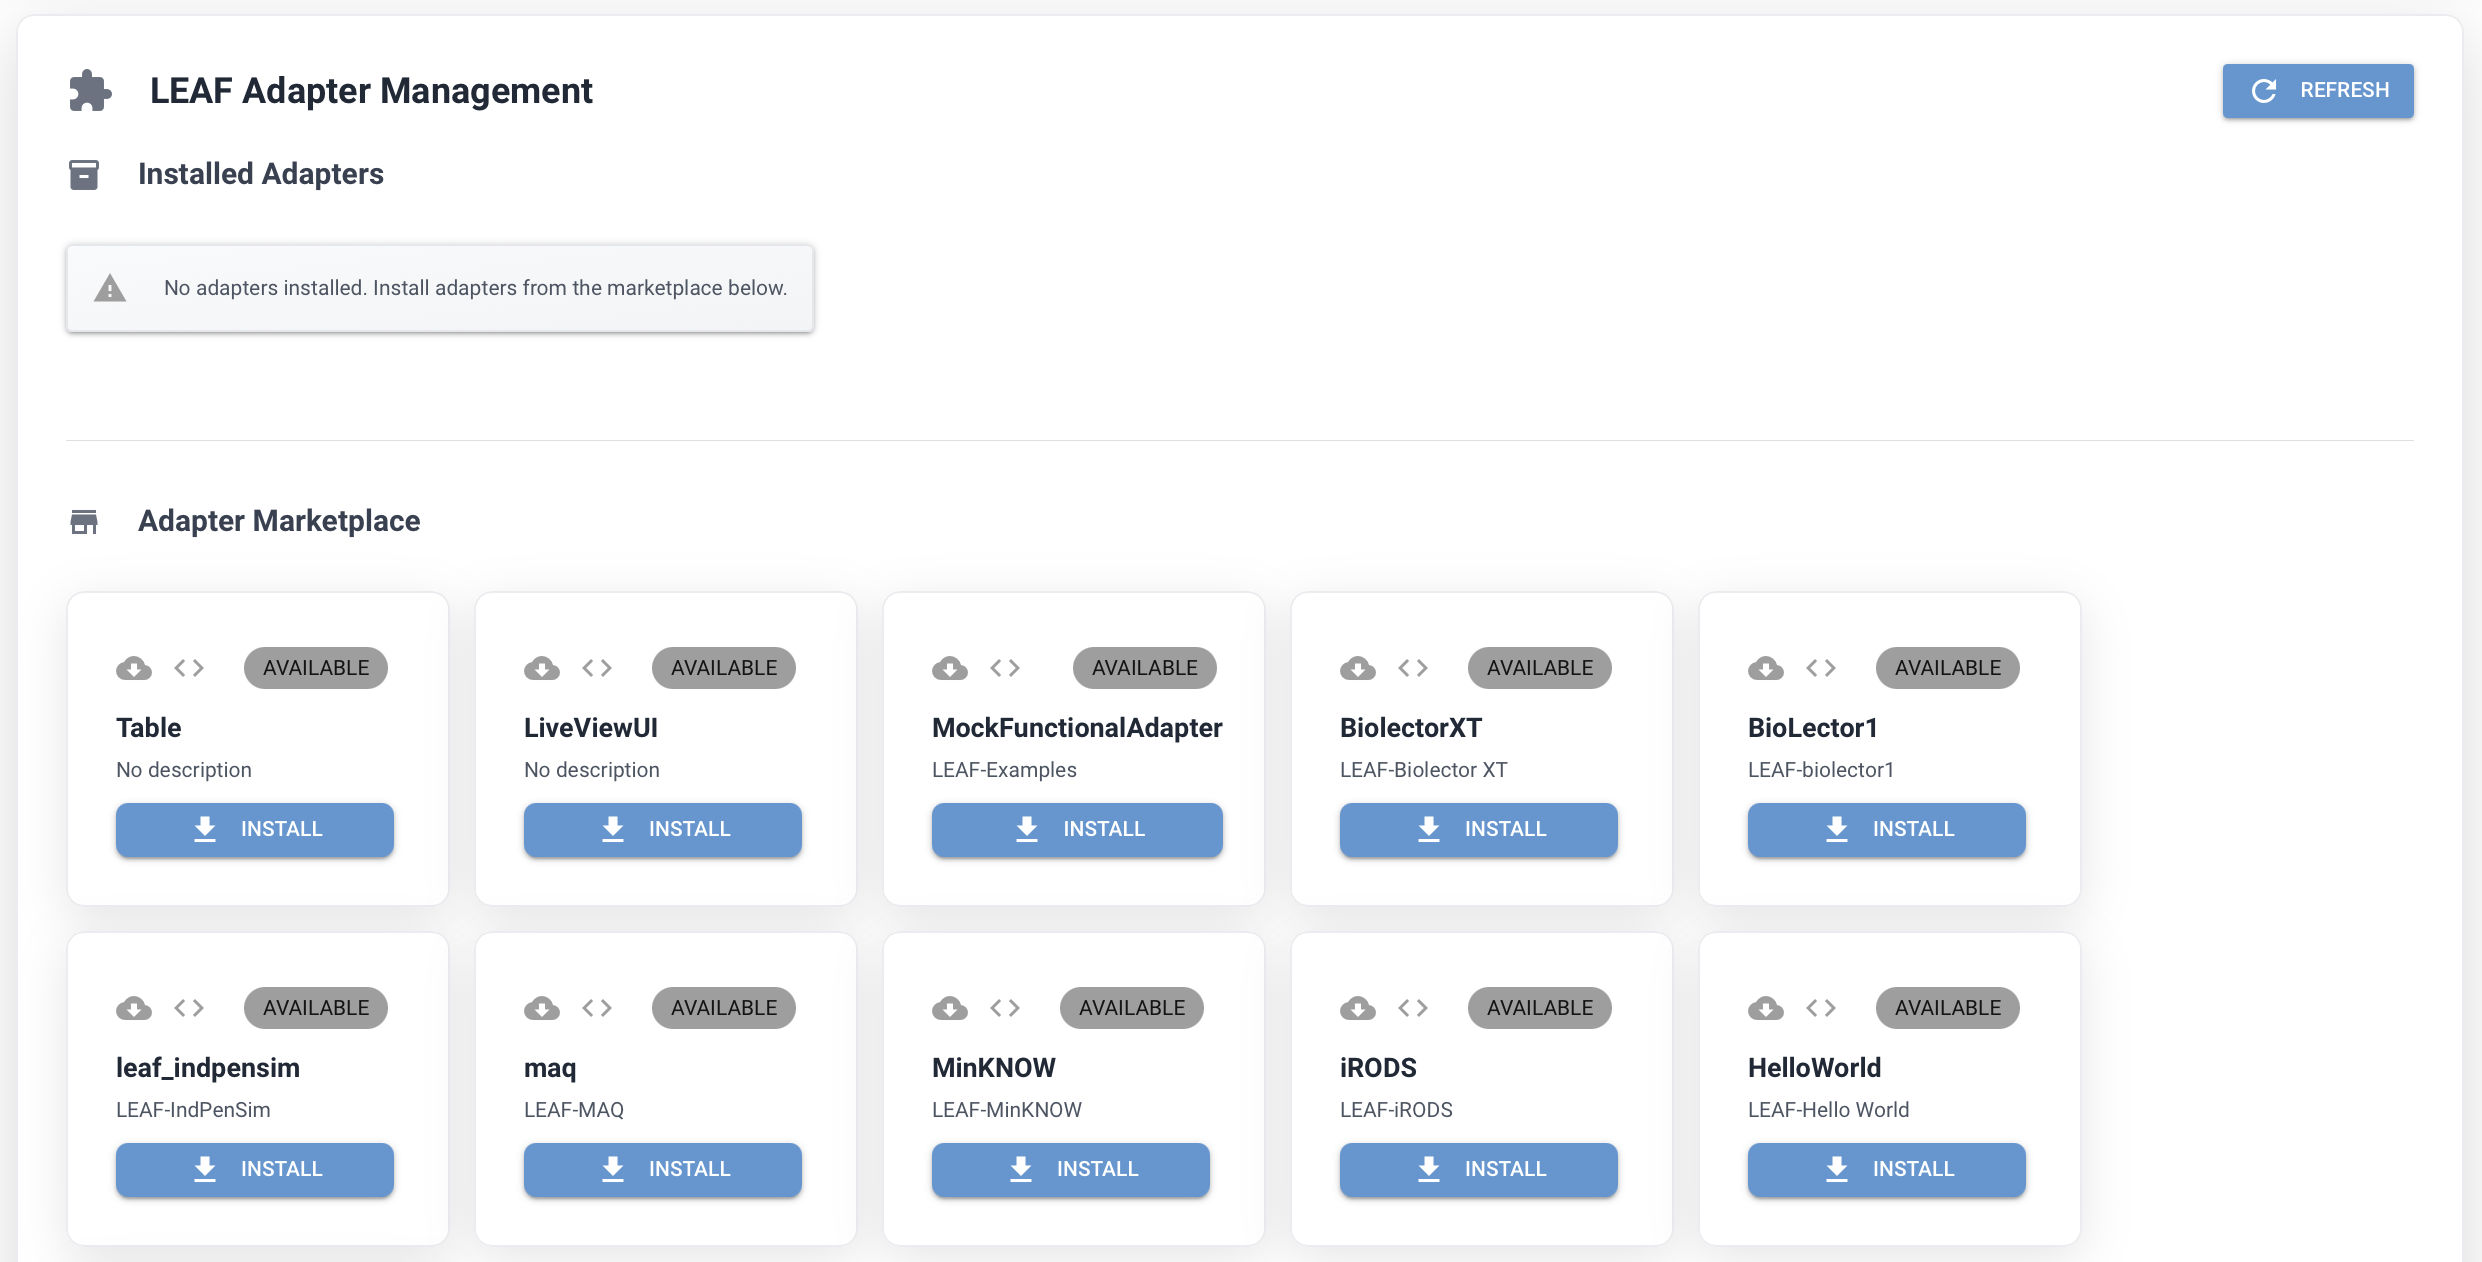
Configuring adapters can be done with the Graphical User Interface (GUI). As shown in the example image, on the right there is a dropdown menu available where you can select an example for each of the installed adapters.
At the bottom of the configuration page, there are two buttons available. The Save & Restart button allows you to save any changes made to the configuration file and restart the LEAF framework to apply those changes. The Stop APP button stops the LEAF application which is similar to stopping the app via the terminal using Ctrl+C.